Changing the clutch cable is a straightforward task that only requires a basic set of tools and some dedicated time in your garage. Wondering when it’s time to replace the clutch cable and what the replacement procedure involves? Look no further for answers to these queries!
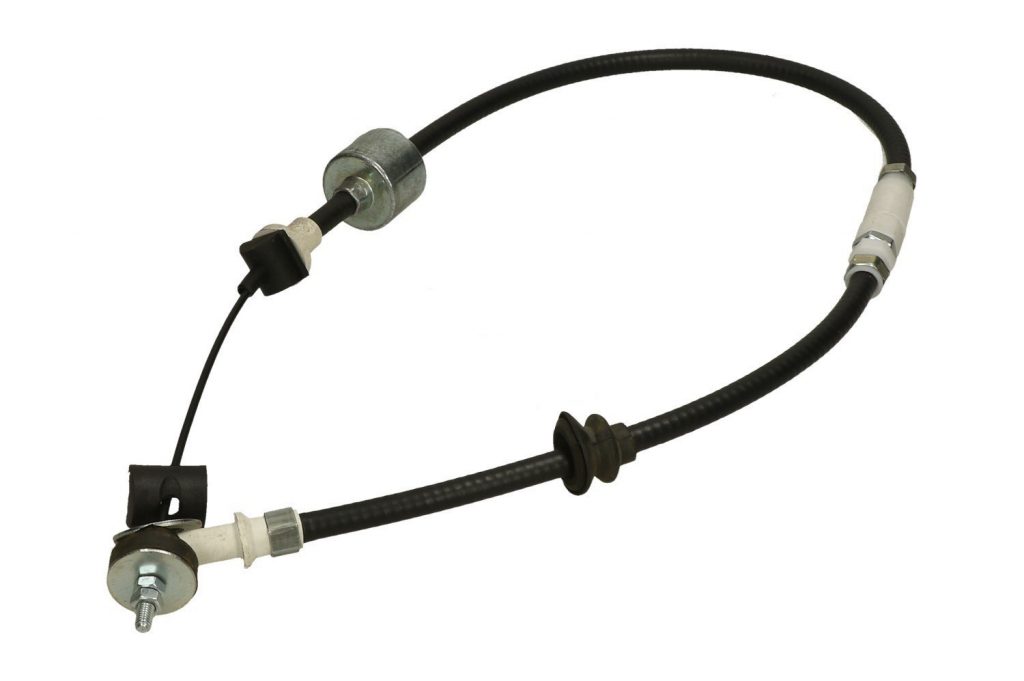
So, what exactly is a clutch cable, and what role does it play? The clutch cable consists of intertwined steel wires encased in a robust plastic covering. This cable serves as the link between the clutch disc actuator (commonly known as the foot) and the pedal, ensuring a proper response when the driver engages it. The harmonious interaction of these three components allows for the connection and disconnection of the drive between the engine and the gearbox, which is a crucial factor in ensuring seamless driving.
Just like any other component in our vehicle, the clutch cable is susceptible to wear and tear over time. With extensive usage, the steel fibers may deteriorate more rapidly, potentially leading to a complete cable failure, resulting in the immobilization of the vehicle. Additionally, cable wear can be attributed to corrosion.
It’s essential to note that a damaged clutch cable might not immediately force you to halt your driving. However, it can significantly impede your journey, potentially contributing to more severe malfunctions and even road accidents.
Damaged clutch cable symptoms
Symptoms of a damaged clutch cable are commonly identified through the following signs:
- Increased resistance when pressing the clutch pedal.
- Pedal sticking or jamming in a specific position.
- Unusual sounds, such as squeaks or clicks, when applying pressure to the pedal.
These symptoms often indicate the initial stages of cable wear, where individual fibers start to deteriorate. It’s important to note that other issues related to the clutch operation may exhibit similar signs, such as a worn pressure plate or failing bearings. To prevent a complete cable failure, it is essential to rule out other potential problems and proceed with the replacement of the damaged cable.
Here is a step-by-step guide to replacing a clutch cable:
- Acquire a new clutch cable:
- Initiate the replacement process by purchasing a new clutch cable. Fortunately, these components are relatively affordable, with prices starting at 5.14 USD. However, costs may vary based on the make and model of the vehicle. For instance, a delivery car’s clutch cable may cost around 7.71–11 USD, while those for modern passenger cars can range from 12.86–25 USD for replacements and even higher for self-adjusting cables or original parts. Before making a purchase, examine the VIN number to determine whether a cable with or without this function is required.
- Lifting the Vehicle
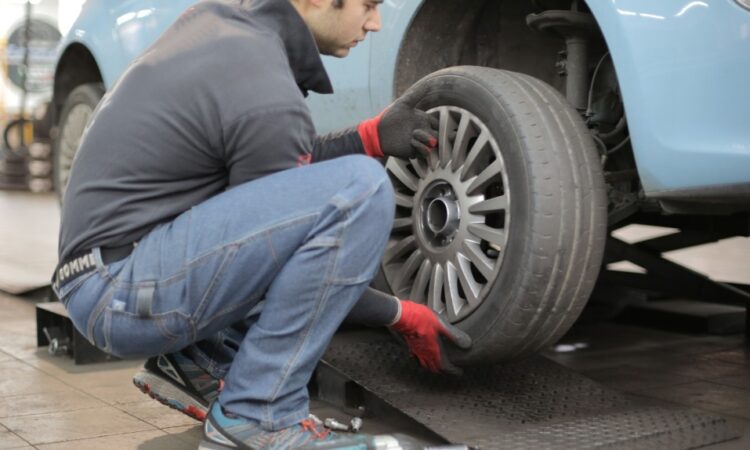
After obtaining a new clutch cable, the replacement process can commence. Begin by loosening the bolts that secure the front wheel on the driver’s side. Subsequently, use a jack to elevate the car, ensuring to place a workshop trestle, a wooden block, or a spare wheel underneath it. This precautionary measure will provide protection in the event of the vehicle slipping off the lift. - Locating the Cable
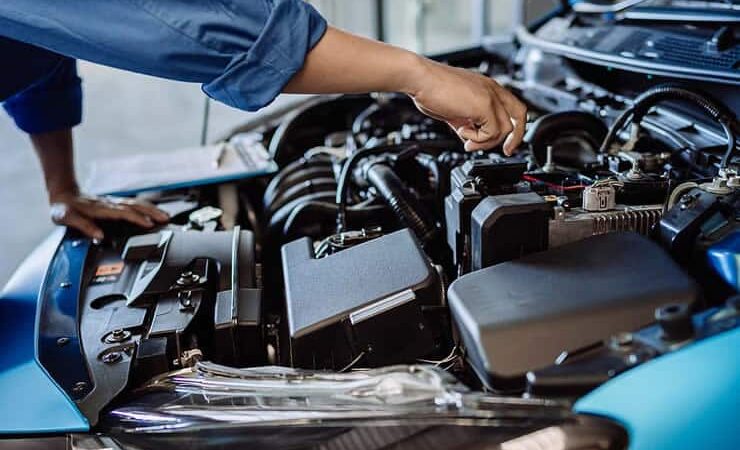
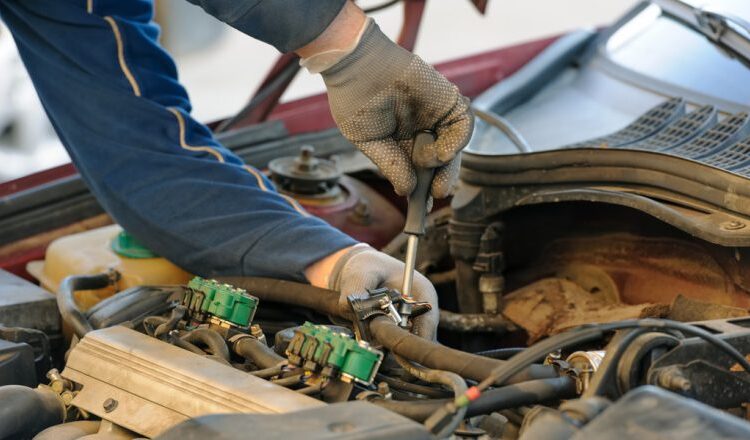
The clutch cable is typically situated on the left side of the car, in the lower section of the engine compartment. Depending on the manufacturer, the cable might also run in proximity to the front bulkhead, especially if it is of considerable length. In certain vehicles, it may be necessary to remove other components, such as the air filter or battery. It is advisable to determine the precise location of this part beforehand. - Removing the Damaged Cable
The replacement process involves unscrewing the fastening elements of the faulty component and disconnecting the damaged cable from both ends: the pedal cable and the clutch lever. To accomplish this, an open-end wrench is required to remove the clutch pedal and the cable mounting bolts. Removing the caps covering the cable from the bottom might also be necessary. Access to these elements can be from both the top and bottom, but lying beneath the car is usually more convenient. - Installing a Functional Cable
Once the defective cable is removed, proceed to install the new one in the same manner as the original. Start by inserting the cable into the engine compartment, preferably from the front side. Attach it to the pedal cable on one side and the clutch lever on the other, tightening the appropriate screws.
All set! However, before embarking on a new journey, it’s crucial to verify if everything operates as intended. An improperly installed cable can result in excessive resistance or play on the pedal, affecting the clutch’s proper functioning and potentially causing more severe issues. If issues persist, seeking assistance from a mechanic may be necessary (with an estimated cost of approximately 51.43 USD, including materials).

